Making an ASCII Art Generator from Scratch

Introduction
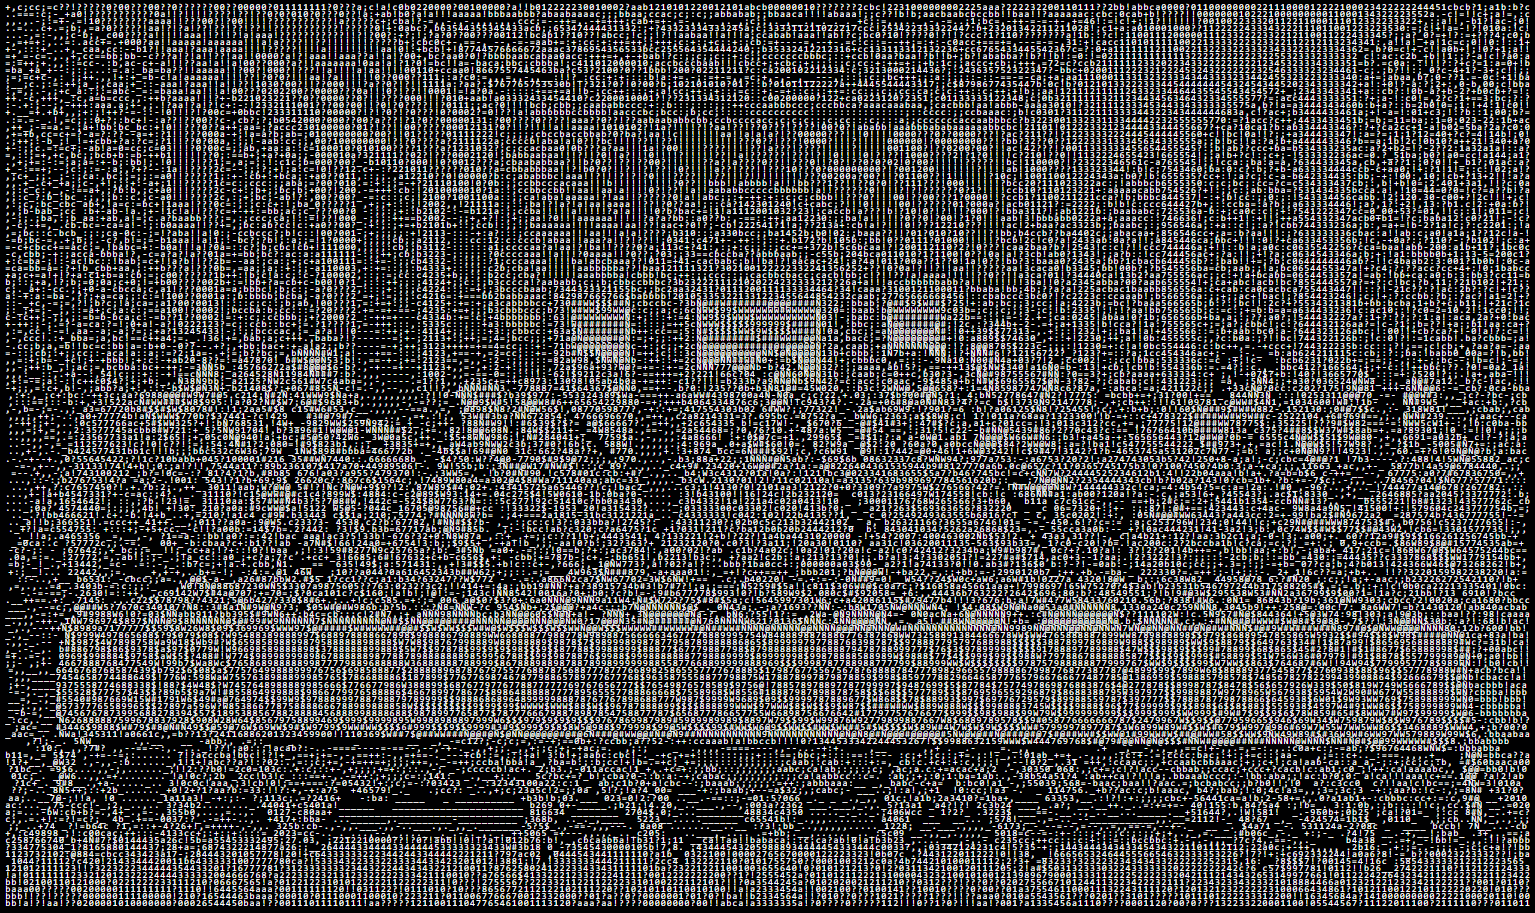
The early days of personal computers looked very different from today. While it is trivial nowadays to view large collections of family photos or stream video from the internet to your computer or smartphone, the limitations of older hardware could not support these sorts of features that are now commonplace. Before Apple introduced the Macintosh in 1984 and helped normalize the traditional "desktop" graphical user interface, one would typically interact with computers by entering text commands on a solid background. This fostered a culture of creating detailed art within the bounds of what could be expressed with just text (maybe with a bit of a squint). The set of text characters that acted as the pallet for artists is called ASCII (American Standard Code for Information Interchange), created back in 1963 as a standard for telecomm equipment and similar devices. Over the years, many ASCII artists have expertly used combinations of the characters in this limited set, sometimes typed one at a time, to create some beautiful imagery. For example:
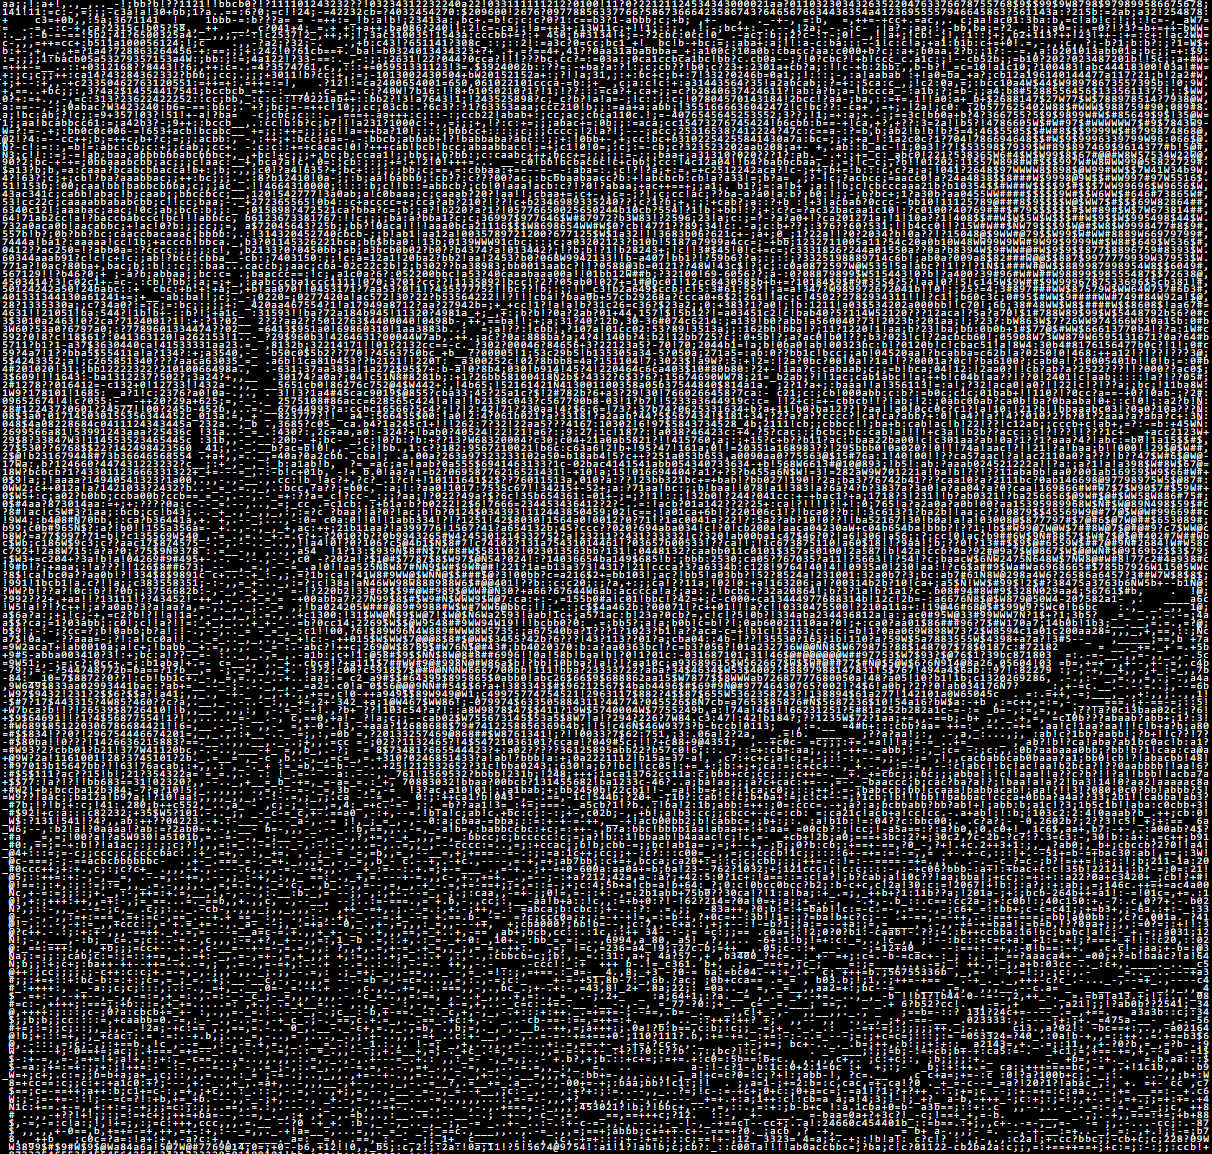
My latest project allows users to transform images into ASCII art easily, straight from their web browser. While the results may not have the same notes of artistry and personal touch, it's a lot of fun to play around with. Try it out yourself below!
Use small input images, otherwise you'll get massive outputs!
- Current features:
- *Upload any image to convert to ASCII art
- *Choose from a variety of calculation methods
- *Copy ASCII to your clipboard
- *Resize ASCII on screen with a slider
- *Works entirely in the browser without uploads or server-side processing
How It Works
Calculating Pixel Lightness
My app works by replacing every pixel of an image with an ASCII character closest in lightness. For example, assuming our text is white on a black background, a pure white pixel might be replaced with a character that fills a lot of space (like Ñ), while a pure black pixel might be replaced with no character at all (an empty space).
The foundation was built off of this great video tutorial by The Coding Train.
// Pixel lightness to ASCII pattern, brightest->darkest
const density = 'Ñ@#W$9876543210?!abc;:+=-,._ ';
let picture; // Load input image
function preload() {
picture = loadImage("images.jpg");
const pictureScale = 1;
picture.resize(
floor(picture.width / pictureScale),
floor(picture.height / pictureScale)
);
}
function setup() {
noCanvas();
background(0);
// Loop through every pixel in the input image
picture.loadPixels();
for (let j = 0; j < picture.height; ++j) {
let textRow = '';
for (let i = 0; i < picture.width; ++i) {
// Pull the R, G, B values for each pixel
const pixelIndex = (i + j * picture.width) * 4;
const r = picture.pixels[pixelIndex + 0];
const g = picture.pixels[pixelIndex + 1];
const b = picture.pixels[pixelIndex + 2];
// Calculate the average of R, G, B
const avg = (r + g + b) / 3;
// Find the ASCII character with closest density/brightness
const charIndex = floor(map(avg,0,255,density.length,0));
// Add the chosen ASCII character to the row
const c = density.charAt(charIndex);
if (c == ' ') textRow += ' ';
else textRow += c;
}
// Print the completed text row to the screen
createDiv(textRow);
}
}
Accounting for the Human Element
The special sauce to this process is how we calculate the lightness of each pixel. In the example above, this is done by averaging each pixel's RGB values, which represent the intensity of red, green, and blue of each from 0 (pure black) to 255 (pure white).
While this method is simple and works reasonably well, it doesn’t align perfectly with human vision. Computers treat all three color channels equally, but humans perceive brightness differently based on a more complex interaction between light, our eyes, and the brain. For instance, we are more sensitive to green light than to red or blue.
To account for this, we need a solution that mimics how our eyes interpret lightness. This is where the International Commission on Illumination (CIE) comes in. In 1976, they introduced the CIELAB color space—a model designed to accurately quantify perceived color differences. If you're curious about the details, I highly recommend this article for further reading. You might also check out another project of mine, Photomosaic, which uses the same theory, and in more depth, to generate mosaics.
So, what does this mean for us? Using a bit of math already worked out by CIE, we can improve how lightness is calculated, creating results that are closer to what we actually see. We can create a function that converts RGB colors into CIELAB ones:
function rgbToLabLightness(r, g, b, white) {
  // Based on the mathematical formulas from CIE
  // Numbers are pre-calculated from exact counterparts, like sqrt(#)
  r /= 255;
  g /= 255;
  b /= 255;

  // Apply gamma correction
  r = r <= 0.04045 ? r / 12.92 : Math.pow((r + 0.055) / 1.055, 2.4);
  g = g <= 0.04045 ? g / 12.92 : Math.pow((g + 0.055) / 1.055, 2.4);
  b = b <= 0.04045 ? b / 12.92 : Math.pow((b + 0.055) / 1.055, 2.4);
  // Convert to XYZ color space (only Y is needed)
  const y = r * 0.2126729 + g * 0.7151522 + b * 0.0721750;
  // Normalize for provided reference white
  const yNormalized = y / white;
  // Calculate L* (lightness component only)
  const lightness = yNormalized <= 0.008856
    ? yNormalized * 903.3
    : 116 * Math.cbrt(yNormalized) - 16;
  return Math.max(0, Math.min(100, lightness)); // Output clamped to [0, 100]
}
There's a lot going on here, but the important thing to understand is that we're converting RGB colors to the CIELAB color space, and grabbing just the "L" component, which represents lightness. Unlike RGB, this value lands between 0 (pure black) and 100 (pure white). This brings a significant improvement in how lightness is represented. Consider an image with a mix of green, red, and blue shades:
- With RGB averaging, all three channels are treated equally, so green, red, and blue pixels of similar intensities might look equally bright.
- With CIELAB, the calculation accounts for our heightened sensitivity to green, resulting in a brightness value closer to what our eyes perceive.
Great - let's implement it! This new code allows us to choose which lightness calculation method we use:
for (let j = 0; j < picture.height; ++j) {
  // ...
  for (let i = 0; i < picture.width; ++i) {
    // ...
    // Compute lightness with chosen method
    if (method === 'RGB Average') {
      lightness = (r + g + b) / 3;
      range = 255;
    } else if (method === 'CIE LAB - Absolute White') {
      lightness = rgbToLabLightness(r, g, b, 1); // D65 reference white
      range = 100;
    } else if (method === 'CIE LAB - Relative White') {
      lightness = rgbToLabLightness(r, g, b, maxBrightness / 255); // Brightest pixel
      range = 100;
    }
    // Find the ASCII character with closest density/brightness
    const len = density.length;
    charIndex = floor(map(constrain(lightness, 0, range), 0, range, len, 0));
    // ...
}
I created two ways to use our more accurate LAB calculations, absolute white and relative white. A "reference white" is a standard value used to define the brightest possible white in a color space, serving as a baseline for normalizing lightness calculations. Let's break it down:
- Absolute White: In this method, we assume a fixed reference white—specifically "D65," which corresponds to daylight with a color temperature of 6500K. This approach ensures a consistent baseline for brightness across different images. It’s useful when you want predictable results, like when comparing lightness values across images or for images with balanced lighting.
- Relative White: Here, we dynamically adjust the reference white based on the brightest pixel in the current image. This method makes the lightness scale adaptive, ensuring the full range of ASCII characters is used, even for darker or low-contrast images. It’s ideal when working with images where the lighting is uneven, or when you want to maximize the contrast in your ASCII output.
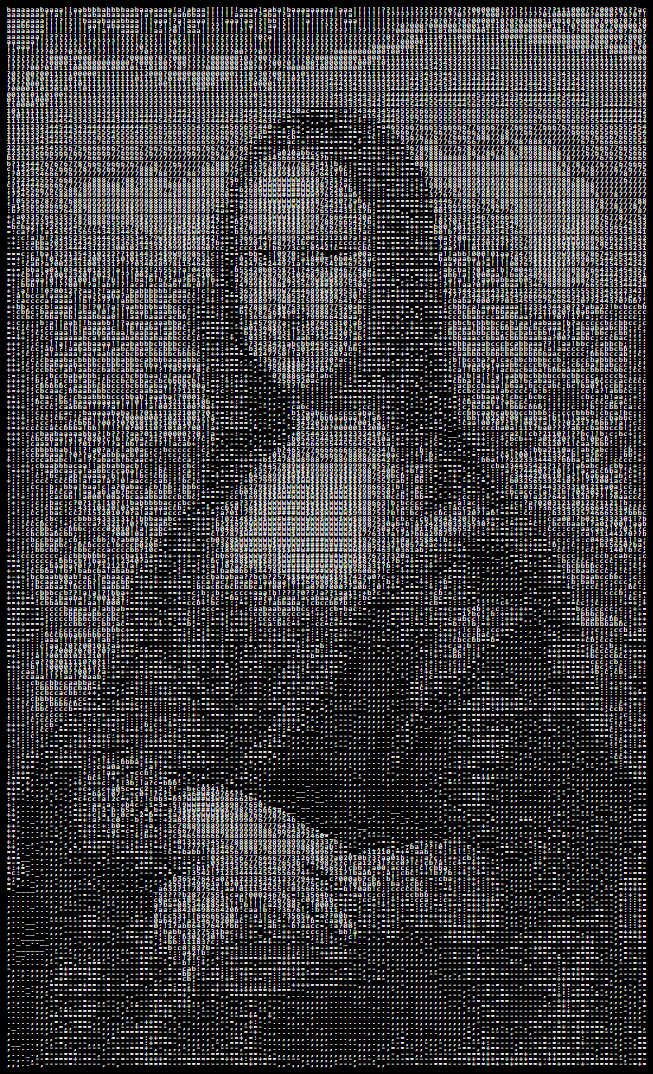
Let's see it in action!
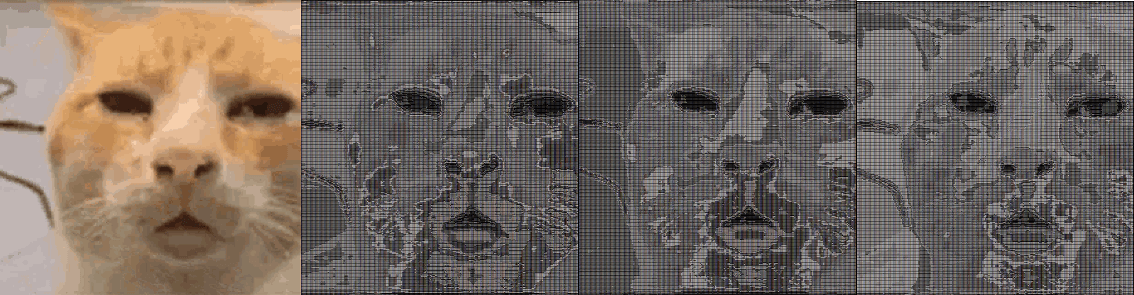
With this particular image, we see that the "relative white" method is most accurate at representing the original image in black and white - You can even see small details in the eyes! "Absolute white" also faired well, though it struggles to adapt to such a bright image - It handles a darker images much better. And, as expected, both are considerably more accurate than the original RGB average method.
What’s Next?
There are so many other features I could add to this app, I could potentially refine this project for years. The user interface is lackluster, for one. More advanced image-to-ASCII generation tools, like this one, offer features like edge detection, boosting image sharpness, dithering, and custom characters/patterns. I completed this project on a whim within the span of a few hours, though learned a lot and had a ton of fun, so wanted to share my process and results.
Thank you for reading! If you liked this, check out my article on a similar project, Photomosaic!